How to Install Levolor Inside Mount Cellular Shades
3:14
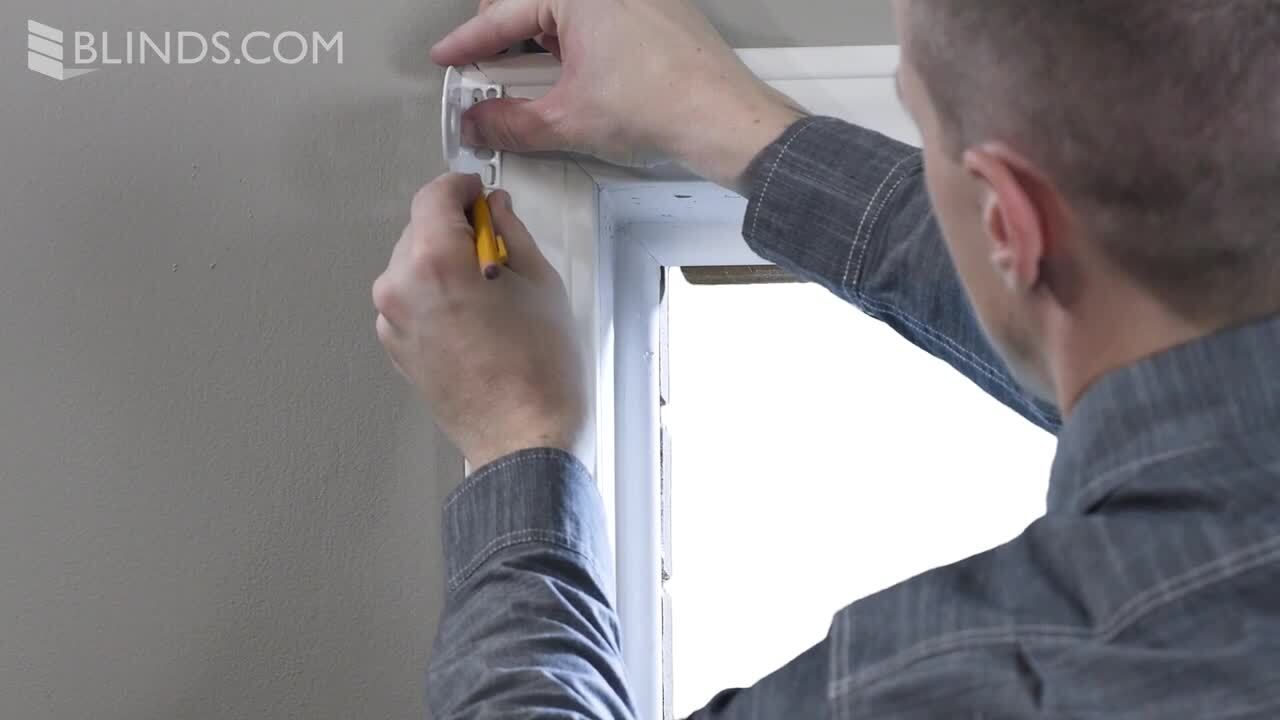
Levolor shades are easy to install. In this video, we will walk you through quick and simple steps to install your custom cellular shades inside mount. Let's start by getting organized. There are a few tools you will need for installation. They are: a flat head or Phillips head screwdriver, level, measuring tape, pencil, pliers or heavy-duty scissors, power drill with a three 32nd inch bit, fasteners, and brackets designed for mounting surfaces. Two 1.5-inch number six hex head screws are provided per installation bracket. Two longer number 6 hex head screws for use with spacer blocks are not provided. Last, check to see if the parts listed have been shipped with the product, so you have the correct number of brackets. Now that we're organized, let's get started with installation. First, you will need the mounting brackets that were included with your shade. Two mounting screws are needed per bracket. There are two ways to mount shades on your window: inside mount and outside mount. This video will walk you through how to do an inside mount. We will start by marking the bracket locations. Verify that your window casing has a minimum depth of 5/8 of an inch for cordage shades and 1/2 of an inch for cordless shades. Place the bracket on the inside top of the window frame, two inches in from the ends. Space any remaining brackets evenly across the proposed head row location, no more than 30 inches apart. If flush mount is desired, place the bracket two and a quarter inches back from the inside top of the window frame. With a pencil, mark the drill hole locations through the top of the holes of the bracket, two per bracket. Using pencil marks as a guide, start the screw hole by pre-drilling, using a 3/32-inch drill bit. Hold the bracket with the surface marked "top" facing up. Holding the bracket in place, secure with screws two per bracket. Repeat for each bracket. Make sure the brackets are square with each other. Now that we've successfully mounted the brackets, we will need to install the shade. For corded shades, hook the rear lip of the head rail on the mounting brackets spring tab. While pushing back against the bracket, rotate the front of the headrail upward to engage the top locking tab of the mounting bracket. The shade will easily snap onto the bracket. For continuous cord loop shades only, use the included screws to secure the whole down tension device to the mounting surface, ensuring that the cord loop is taught. Be sure the bracket and headrail are properly secured before operating the shade. For cordless and continuous cord loop shades, hang the curved front side of the head rail on the front lip of the brackets. Rotate the head rail backwards towards the window until a snapping sound is heard. This will let you know the shade is engaged in the brackets. Be sure that the bracket and headrail are properly secured before operating the shade. You're all set and ready to start enjoying your Levolor shade today, tomorrow, and every day.