How to Install Blinds.com Ultimate Blackout Cellular Shades
4:10
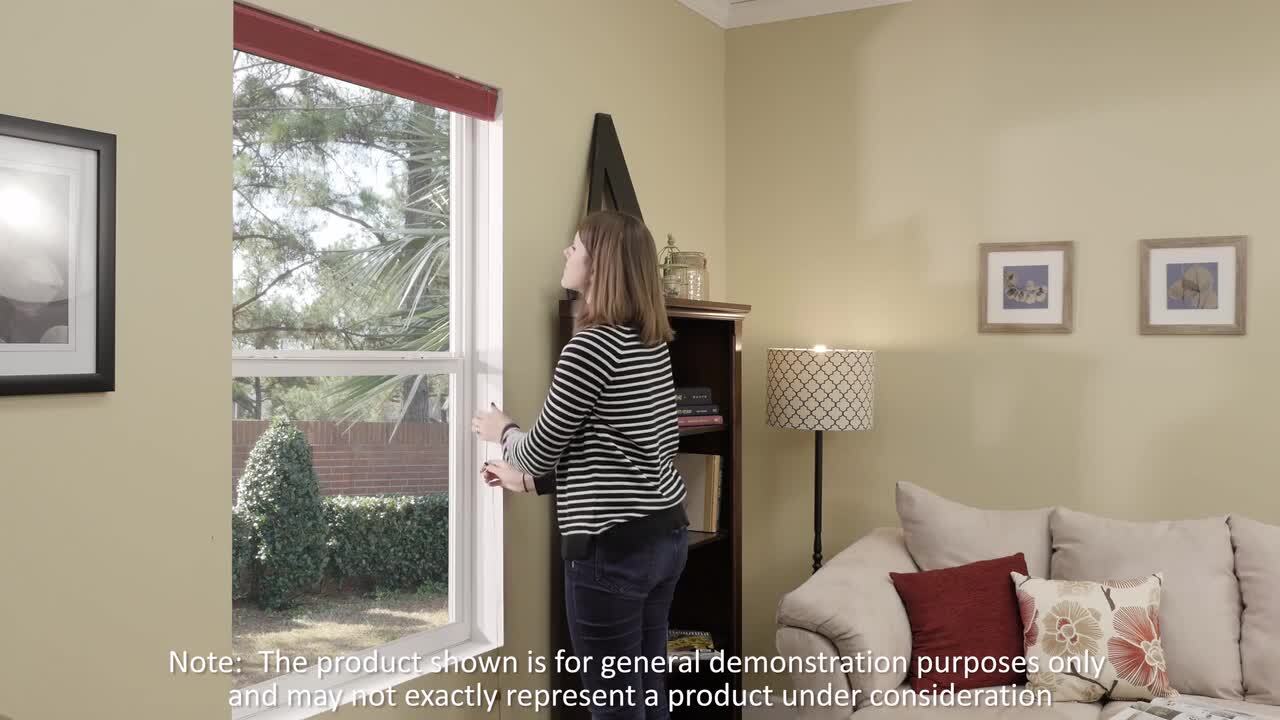
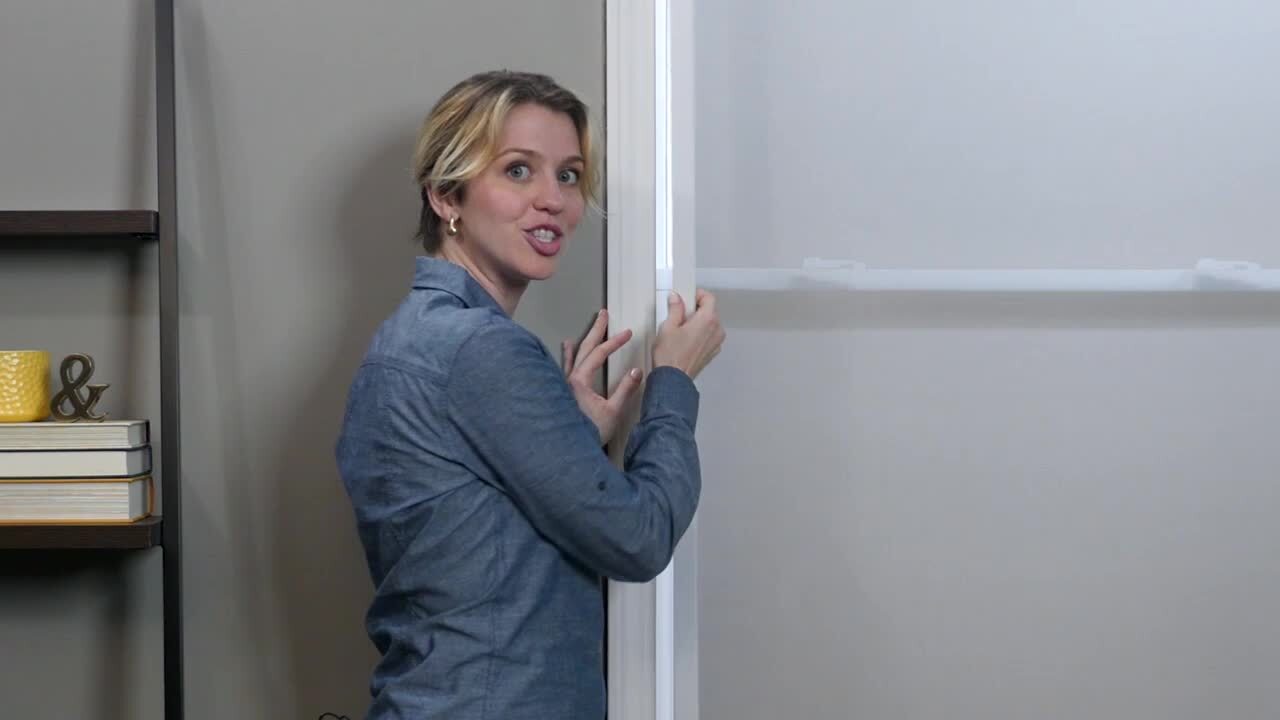
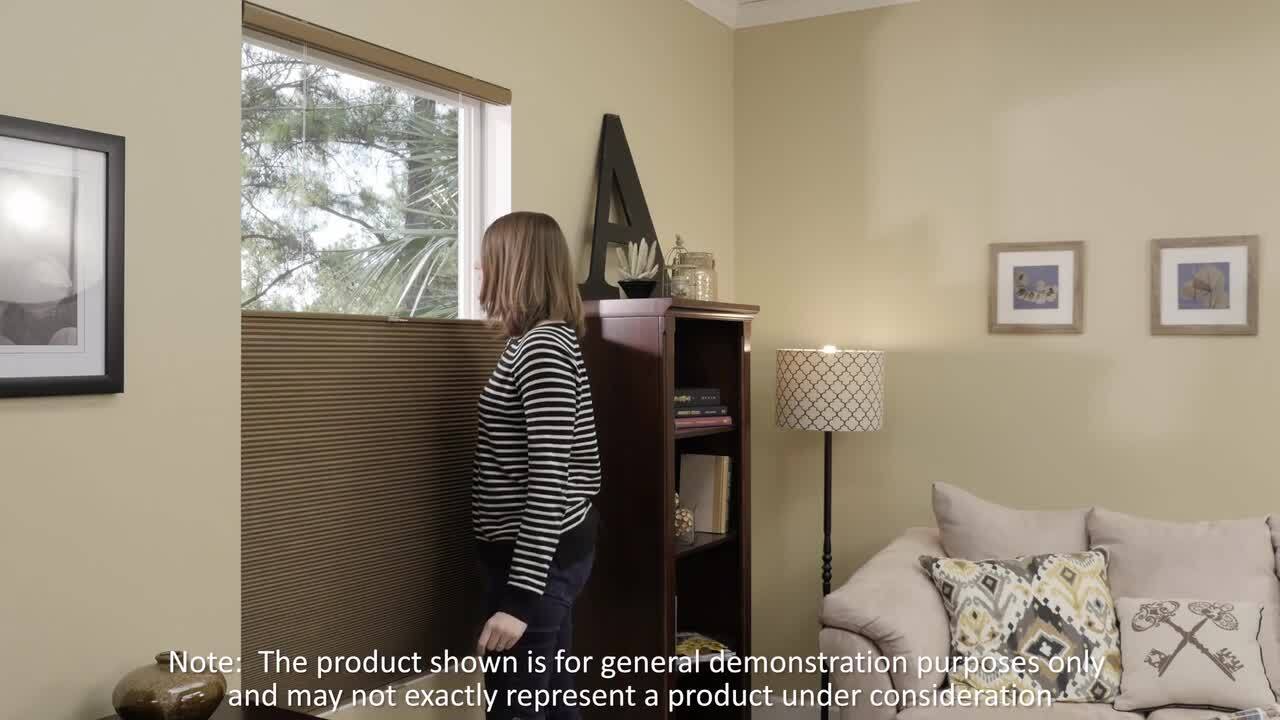
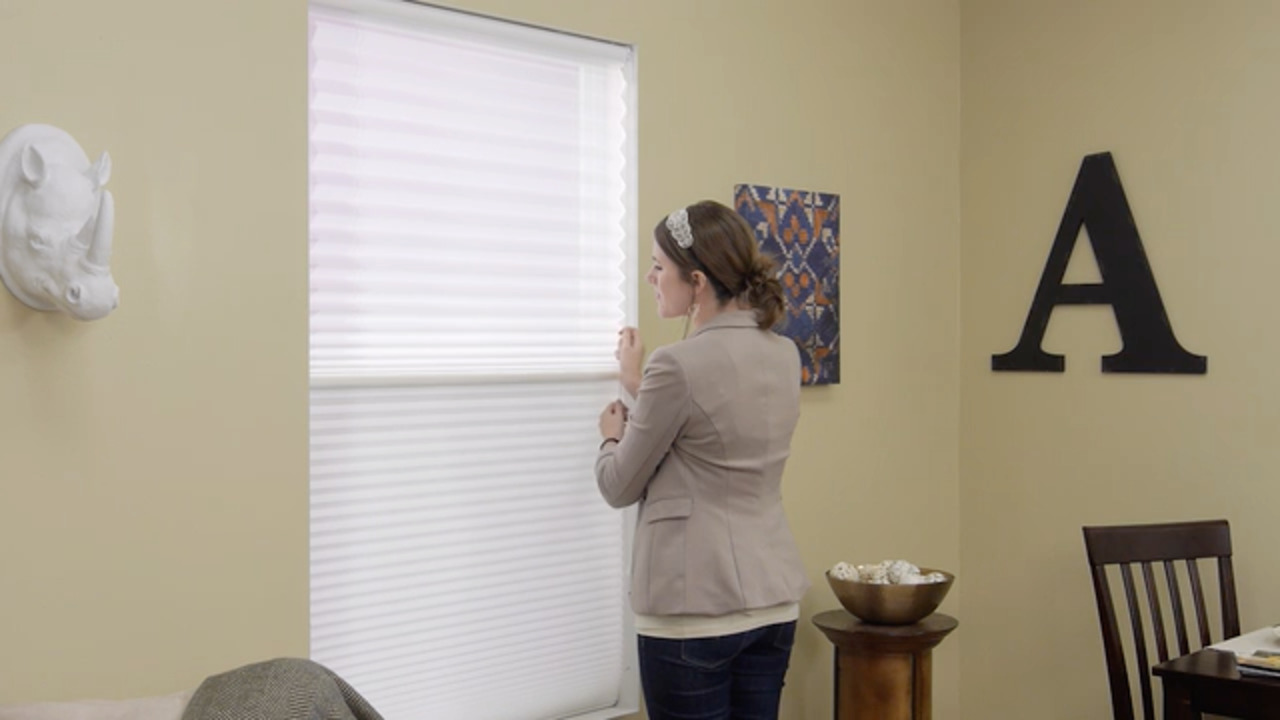
Today, we're gonna learn how to install Blinds.com Ultimate Blackout Cellular Shades. These shades offer complete blackout and energy star rated insulation to learn more about the features and benefits watch our fresh look video. So this is what you're gonna need for the project. You're gonna need a measuring tape, a cordless drill, a quarter inch hex head bit or Phillips head bi, if that's what you have, along with a pencil. And then next you're gonna carefully unpack the box, you'll find your shade, your brackets and screws. If it's cordless, you'll find your clips in your magnetic strike plates along with the claim to fame, the magnetic light blocking side channels. Begin your installation by mounting your brackets flat against the top of your window opening approximately 2.5 inches in from the side. Now we're going to attach the shade to the brackets by inserting the front clip of the bracket into the groove on the rail. I have an extra here so I can show you just like so, so push the rail backing up until the other side of the bracket snaps in. Now let's attach the light blocking track to the size of the window frame. Make sure you're using the right track for the correct side of the window. The knot should be facing up and the fuzzy side facing the window away from you. Now, with the tape still attached, carefully slide the non-fuzzy side of the track into the slit in the bottom rail and fabric until it hits the head rail. Next, you're gonna want to hold the track in place and measure the distance from the track to the wall at the top and bottom to make sure that it's even and mark the position with a pencil. And then you're gonna want to repeat the other side. Okay, now that we have that part done, we're gonna remove the tracks and then pop the head rail out of the brackets by pressing firmly on the back of the bracket with your hands or a flat head screwdriver, whichever is easiest for you. Next, you're gonna peel the tape off the magnet. Align the front edge of the track with the marks you made earlier and rotate the track until the tape touches. Now we're gonna remove the side channels from the magnetic strips and install the shades. Now, to finish up with the installation of the side channels, carefully slide the track into the notch on the shade and push up and let the track snap into the magnet. Up until now the installation instructions have been the same whether they're corded or cordless. We have cordless here, so we've got to attach these plastic handles, like so, and be mindful not to catch any of that fabric or else that could tear. And ours are actually top-down bottom up letting us lower the top down as well as raise the bottom up, same thing goes. Another thing that cordless shades come with is a magnetic strike plate. This is what's gonna hold the shade down tightly to the Sioux. You're gonna want to get this hole right here lined up with the front of the channel, about a quarter inch in and then just screw it into place. Okay, so after securing the strike plate between the fuzzy seal and the magnets at the bottom, you'll have total darkness and insulation for miles. We've got these side channels here, they're gonna block out all of that light, especially great for your day sleepers, nurseries, all that kind of stuff. But for more information like that and the features and benefits of these shades, check out our fresh look at blinds.com ultimate blackout shades.