How to Install Outside Mount Pleated Shades
1:28
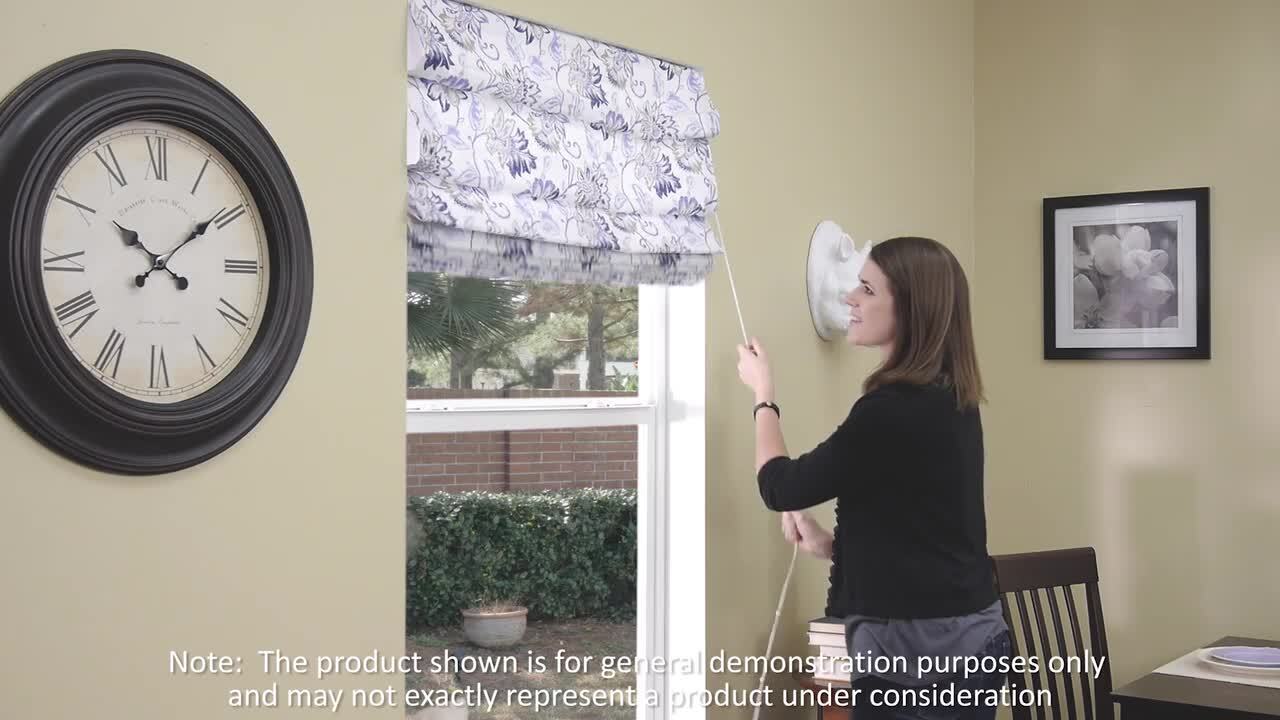
Pleated shades are easy to install in this short video, you'll learn how to install a pleated shade with a standard chord lift. For easiest installation, a cordless screwdriver, drill bits and a pencil are all you'll need before starting carefully. Unpack your shades and mounting hardware. Check the printed instructions included with your product to familiarize yourself with the contents of your box, begin your installation by positioning your shade on the wall or trim where you want it to be mounted. Draw a line along the top 2.5 inches in from the left and right outside edges of your shade with a pencil align the top of your brackets underneath your pencil lines. For easiest installation, pre drill your installation holes were marked, install your bracket using two of the supplied mounting screws per bracket. If mounting into drywall, consider using wall anchors. The proper number of brackets will be included based on the width of your shape, install your head rail by inserting the front lip of your head rail onto the brackets and tilt up until the backside snaps into place. To prevent dangling cords. You can install the included cord clean on the window trim or the wall. Finally, testers shade by lowering and then raising it using the lift control and that's it. If you have any other questions about the installation of your shades, give us a call at 1 800 505 1905